How To Build A Fence
Follow our step-by-step guide to building a secure fence for a dog, from preparing your materials to completing the final quality check.
Before You Build
- Walk the property and determine how large the fence enclosure will be.
- Talk with dog parent about the size of the fence and where the gate panel will be located.
- Ideally the fence will be attached to the house to allow the dog(s) access in and out of the house.
- Order the materials for the build (see attached materials list)
- Gather enough volunteers to build the fence (between 8 and 12)
- Schedule at least 3 hours for the build. • Follow the Fence Panel Guide.
Materials
- 6’ x 12’ Chain Link Fence Panels
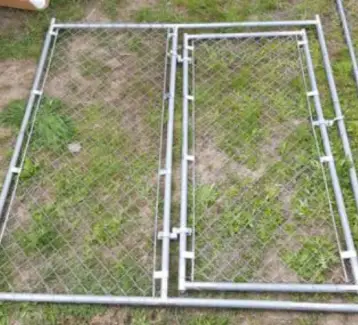
- Gate Panel
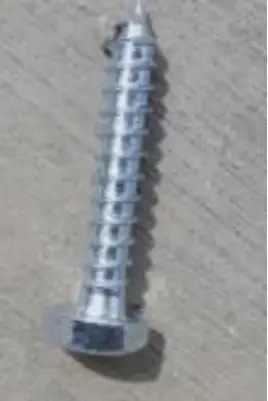
- Gate Fasteners and lag bolts
- Panel Fasteners (including bolts and nuts)
- 5 ‘ rolled welded wire, to cut for ground wire
- Candy Cane rebar
- Various tools: Wire cutter, needle nose pliers, hammer, sledge hammer, ratchet, ring tool for ground wire, pick axe, screwdriver and magnet tool.
Steps to Build
1
Prepare the Fence Panels
- Unload all panels and gate panel to be used.
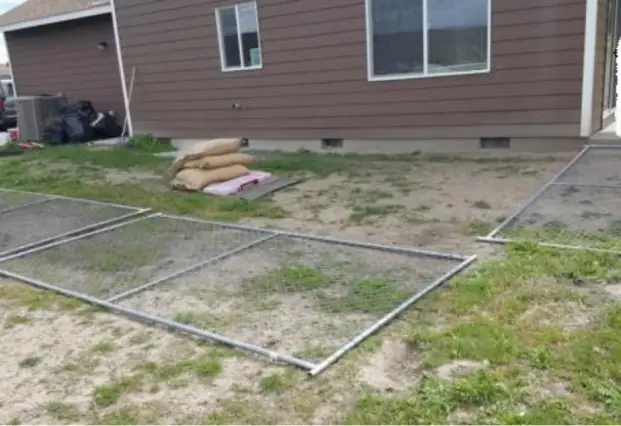
- Lay panels on the ground with the middle support bar on the ground and the twisted wire so the wire will be on the top of the fence.
- Lay panels side by side so they are easy to tilt up in place.
- Gate panel should be secured to the house.
2
Install and Secure the Gate Panel
- Set the gate panel in place.
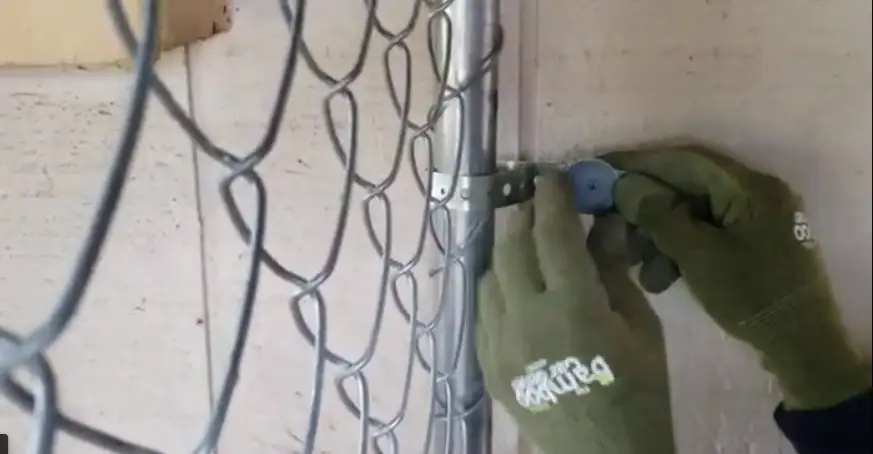
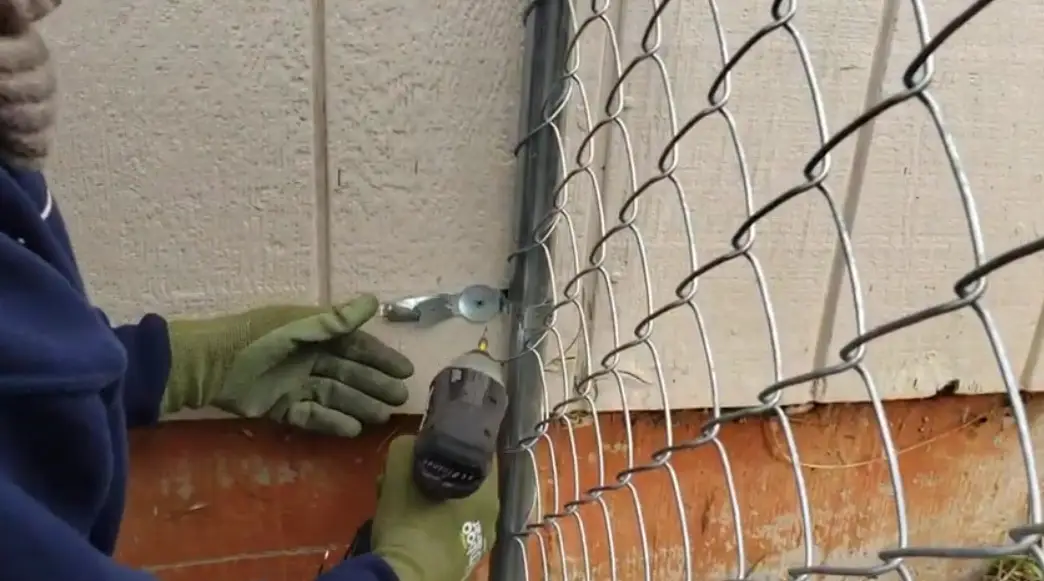
- Secure gate panel to the house using metal strapping and lag screws.
- Gate panel pole should be parallel to the house.
- Ensure the latch is positioned in the upper third of the gate.
3
Position and Secure the Fence Panels
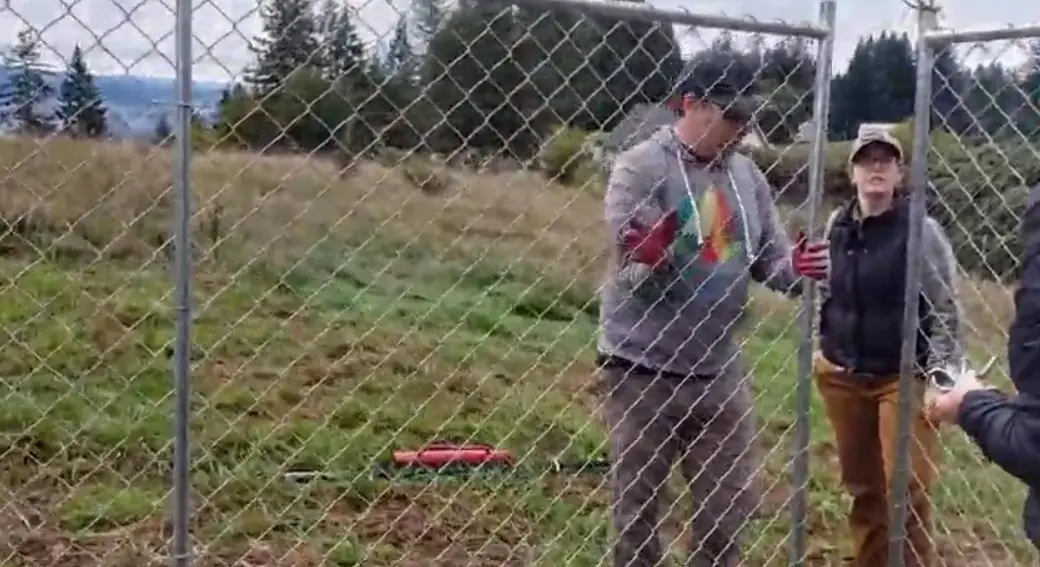
- Lift panel up so that 6 ‘ portion of panel is vertical and 12’ portion of panel is horizontal with the middle support bar on the outside of the fence and the twisted wire on the top of the fence.
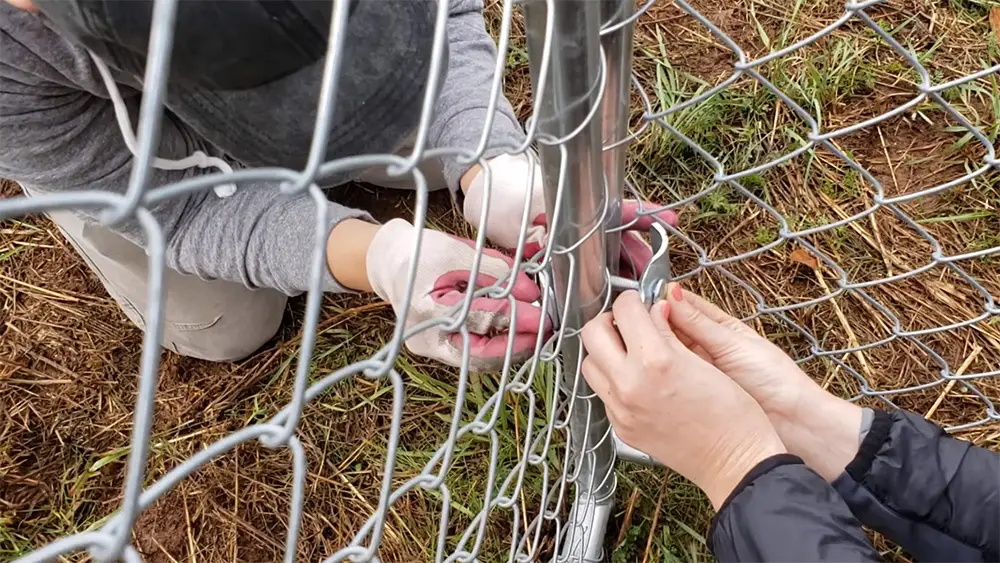
- Secure first panel to gate, use 2 fastners.
- Check ground for approximate level.
- If ground is not level dig a trench to make it level.
- Continue to secure panels to new panel using 2 fasteners until one panel is remaining. • Ensure all panel fasteners are tight.
4
Secure the Final Panel
- Secure last panel to the house.
- Ensure the panel is parallel to the house .
- If needed, use a 2” x 4” to attach to the house and attach last panel to the house.
- Adjust remaining panels so you can secure the panel that is attached to the house to the rest of the panels.
- It’s okay if the fence is not 100% square or 100% rectangle.
5
Install the Ground Wire
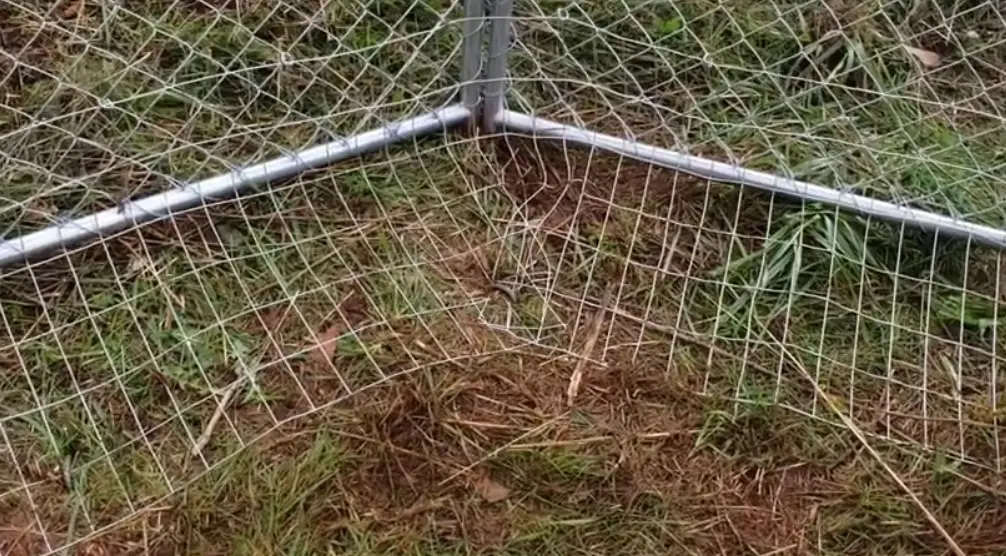
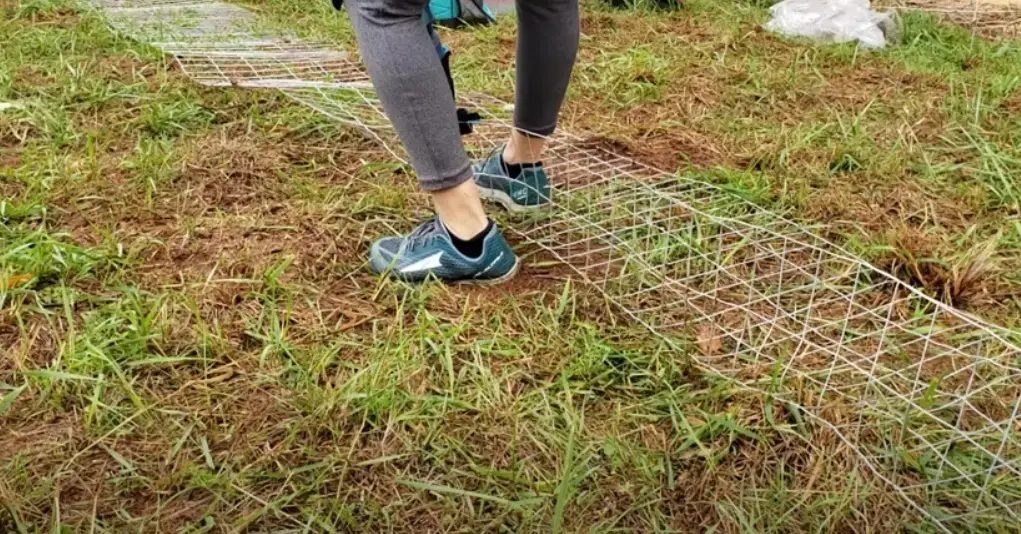
- Cut a long strip of wire fencing to a width of 5 squares, ensuring all wire pieces are flat and no wire stick out.
- Bend one two squares up in a 90 degree angle.
- Set ground wire along the ground against the inside of the fence, placing the side with two squares against the bottom of the fence.
- Overlap ground wire if too short to fit fence panel length.
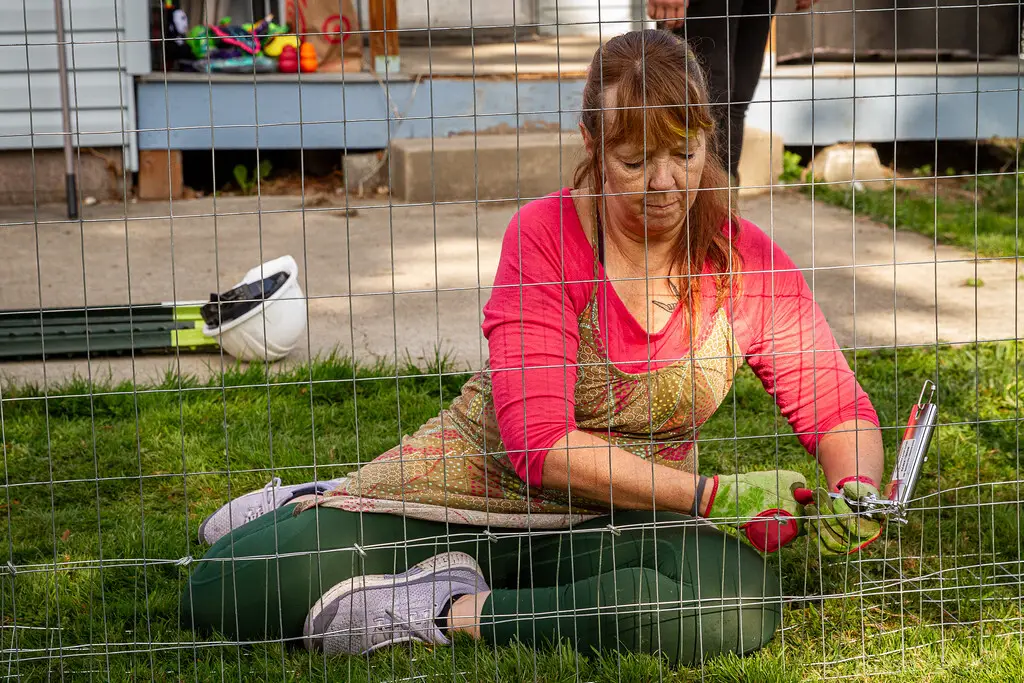
- Secure the ground wire to the chain link fence using ring tool.
- Then hammer in a rebar candy cane about every 1-2 feet to secure the ground wire to the ground.
- Ensure there are no gaps in the ground wire on the ground.
6
Quality Check
- Check that all panel fasteners are tight.
- Check that gate panel fasteners are tight and chain with carabineers are in place.
- Check that groundwire is secure and candy cane rebars are in place (and there are no big gaps in ground wire).
- Make sure no sharp wires exist.
- Pick up all pieces of metal that are on the ground using the magnet tool.